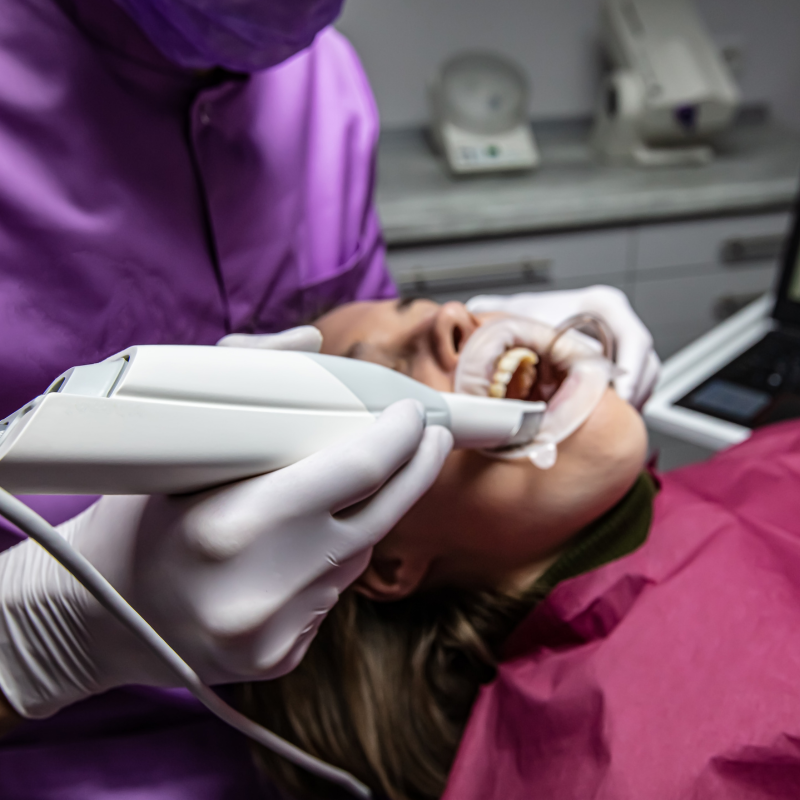
Turn-by-Turn Directions
- Place a clean scan tip on the scanner with the mirror facing down.
- Create space between the teeth, lips, and cheeks using your finger or a dental mirror.
- Follow the recommended scanning path of three sweeps: occlusal, lingual, and buccal.
- Start with the molar occlusal surface and perform three to five clicks.
- Move slowly towards the incisors, wiggling the scanner when passing the centrals.
- Continue scanning until you reach the last molar, ensuring a smooth scanning motion.
- Turn slowly lingual, taking care of areas where soft tissue may interfere with the scan.
- Roll the scanner 60 to 90 degrees to the lingual side and keep the tongue away.
- Scan along the lingual surface of the whole arch until you reach the last molar on the opposite side.
- Roll to the buccal side and complete the buccal swipe, using your finger to keep the cheek away.
- Go along the buccal surface of the whole arch, keeping the scanner smoothly in motion.
- Inspect the result and rescan any important areas if necessary.
- Trim unnecessary parts of the scan to prepare it for further use.
- For the upper arch, consider turning the tip up for easier scanning.
- Create space between the teeth, lips, and cheeks using your finger or a dental mirror.
- Follow the recommended scanning path of three swipes: occlusal, buccal, and palatal.
- Start the scanner resting occlusal on the molar and capture the occlusal surface.
- Slowly wiggle the scanner when passing the centrals and continue along the occlusal surface.
- Turn slowly buckle and complete the buccal swipe, taking care of areas where soft tissue may interfere.
- Roll to the palatal side and complete the palatal swipe, including the palate if desired.
- Go along the entire arch, ensuring a comprehensive scan.
- Inspect the result and trim unnecessary parts if needed.
Rescan any important areas that may be missing.
In the world of modern dentistry, digital scanning has become an indispensable tool for capturing accurate intraoral data. Among the leading digital scanning systems, 3Shape TRIOS stands out for its exceptional capabilities and user-friendly features. In this article, we will explore the key steps of the TRIOS scan strategy for capturing full arch digital scans. By understanding and implementing these steps, dental professionals can ensure precise and efficient digital impressions, ultimately improving patient outcomes and satisfaction.
Step 1: Proper Preparation To begin the scanning process, it is crucial to ensure a clean scan tip. Place the scan tip on the scanner with the mirror facing down. Additionally, create space between the teeth, lips, and cheeks using your finger or a dental mirror. This step allows for unobstructed access and optimal scan quality.
Step 2: Following the Recommended Scanning Path The recommended scanning path consists of three essential sweeps: occlusal, lingual, and buccal. Following this path ensures comprehensive data coverage of all surfaces. Start with the molar occlusal surface, performing three to five clicks. Gradually move towards the incisors, capturing the occlusal surface with a slow and steady motion.
Step 3: Careful Lingual and Buccal Scanning When reaching the last molar, turn slowly lingual while being mindful of areas where soft tissue may interfere with the scan. To ensure accuracy
and completeness, roll the scanner 60 to 90 degrees to the lingual side, using the tip to keep the tongue away. Scan along the lingual surface of the entire arch until you reach the last molar on the opposite side. From there, roll to the buccal side and complete the buccal swipe. Use your finger to keep the cheek away for clear visualization.
Step 4: Thorough Evaluation and Adjustments After scanning the buccal surface, go along the buccal side of the entire arch, smoothly moving the scanner to capture all necessary data. Once scanning is complete, take a moment to inspect the result. Rotate the scan to evaluate it from different angles. If any important areas are missing, you can simply start scanning that area again to ensure comprehensive coverage.
Step 5: Upper Arch Scanning For the upper arch, you have the option to turn the tip up for easier scanning. Create space between the teeth, lips, and cheeks using your finger or a dental mirror if needed. Follow the recommended scanning path of three swipes: occlusal, buccal, and palatal. Begin with the scanner resting occlusal on the molar and capture the occlusal surface. Slowly wiggle the scanner when passing the centrals and continue along the occlusal surface until you reach the last molar.
Step 6: Completing the Scan and Evaluation Turn slowly buckle at the last molar and complete the buccal swipe, ensuring to navigate areas where soft tissue may interfere. Roll to the palatal side and complete the palatal swipe, including the palate if desired. Go along the entire arch, capturing all necessary surfaces. Once scanning is complete, carefully inspect the result, rotating the scan as needed. Trim unnecessary parts of the scan to prepare it for further use, ensuring a clean and precise digital model.
Conclusion
The 3Shape TRIOS scan strategy offers dental professionals a systematic approach to achieve accurate and comprehensive digital scans. By following the recommended steps and utilizing the user-friendly features of the TRIOS scanner, clinicians can streamline their scanning process and enhance the quality of their digital impressions. Embracing digital technology in dentistry allows for improved patient experiences, increased efficiency, and enhanced treatment outcomes. Stay at the forefront of digital dentistry by mastering the art of precise digital scans with the 3Shape TRIOS system.


