Fully Digital DupliDenture Workflow (ED1-D) (2 Visits)

If your patient has an existing denture and needs a new one, this may be the workflow for you. Save chair time today.
Overview for this Workflow
Sometimes, you just don’t need to mess with things. Existing dentures that simply need to be copied used to take 4 or more appointments. You’d have to work with a lab that could easily identify the teeth, recreate the denture accurately, and make sure the patient got those key things they were looking for.
Now, we can literally copy the existing denture. It’s quick, easy, and saves tons of valuable time. Furthermore, the design is in our Vault. This quick DupliDenture workflow
This FULLY DIGITAL workflow can reduce chairside time and total number of appointments as compared to traditional methods of denture fabrication.
You can accomplish this workflow with MOST chairside scanners.
Patient Identification


Benefits of This Workflow
This workflow, if followed consistently, should lead to an approximate time savings of 50% or more on patients who meet the criteria. This workflow can save up to two (2) chairside appointments over a normal, analog patient.
Clinical and Lab Goals
Indications & Contraindications
Setting Patient Expectations
Before you begin, explain to the patient that you’re going to be using the latest technology. Focus on explaining we can “3D Image” your denture and it becomes permanently digital. In the future, we won’t have to “start from scratch” because we have this as a baseline.
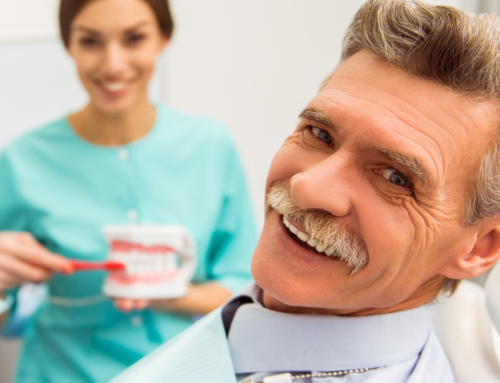
When the patient has an existing prosthetic this means they’ve already had an experience with “old style” impressions and processes. This is an opportunity to create a new, positive experience. The best way to do this is by sharing with the patient about the amazing solutions you provide.
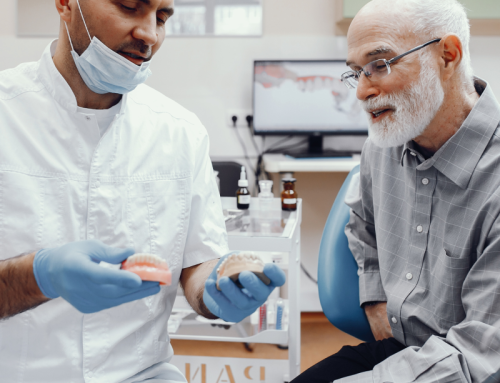
First Clinical Visit

In this visit, you will capture the key diagnostic impressions needed to complete the case
First Visit Keys to Success
- Before you begin, mark and/or record the vertical of the patient.
- Discuss with patient what they do and don’t like about their existing denture.
- Take a quality reline impression. Re-check the vertical to confirm any changes. Communicate any change in vertical (due to impression material) to the lab.
- Obtain an opposing scan
- Obtain a bite scan with the denture in the mouth in correct bite with opposing arch.
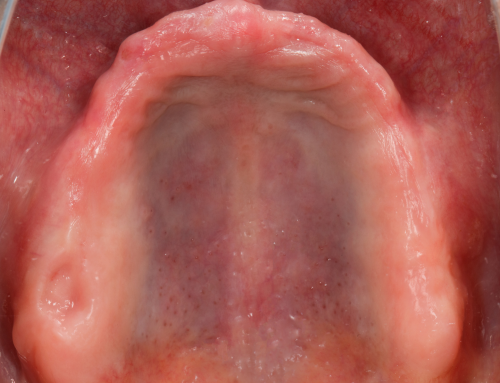
- Scan the denture by itself (removed from the mouth) using the Denture Scan technique for your scanner.
- Take the Hero Picture
- Remove the reline impression and return denture to patient at end of appointment.
First Laboratory Procedure
At the lab, we will do Basic Smile Design and evaluation, design the denture according to any specifications required, and produce a 3D Printed, high quality, repeatable denture with a 10-Year Vault Guarantee.
- Basic Smile Design
- Denture Design
- Denture Production
The Lab Will Return:
- The Patient’s New Denture

Final Clinical Visit

Delivery
The patient’s new, digitally designed and fabricated denture should be ready for delivery with minimal adjustments.
Your patient’s new denture is protected by the RDL Digital Design Vault, with at least 10 years of backup.
Further, if changes are neccesary in the future, you can replicate this workflow to send adjusted versions of the denture through your digital impression system.