Traditional Impression, Digital Immediate Denture Workflow (IS1-P) (2 Visits)
-2 (1)")
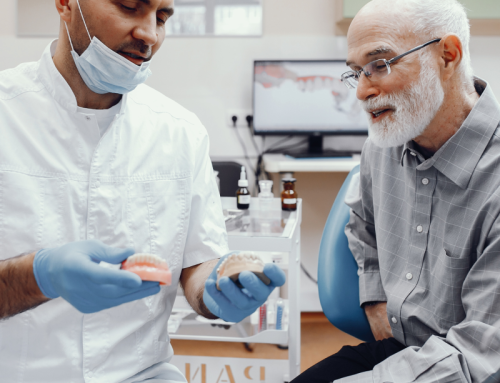
You don't have a scanner, but your patient is in need of a digital denture. You want the diagnostic and treatment freedom that comes with Digital Denture. This is your workflow.
Tradtional Impression, Digital Outputs
This workflow is designed to use Traditional Impression Systems but output superior digital dentures.
You can clinically achieve nearly the same outcomes with Digital Dentures without a scanner, but you won’t be able to save as much time chairside.
Overview for this Workflow
This workflow doesn’t save time over traditional denture workflows. The reason? The only difference here is that the output from RDL is a Digital Denture. Otherwise, the workflow is largely the same as that of a Traditional Wax Denture Workflow.
The four basic stages of the Denture Workflow are here:
- Impressions
- Vertical And Bite Records
- Try-In
- Final Denture Delivery
The final output is a Digitally Designed and Secured denture that you patient can access for up to 10 Years.
Patient Identification


Benefits of This Workflow
This workflow doesn’t have any substantial time savings. The benefits of this workflow have to do with the Digital Denture.
Clinical and Lab Goals
Indications & Contraindications
Setting Patient Expectations
Before you begin, explain to the patient that this workflow will end with them having the most up-to-date digital solution for dentures available in the market.
The patient should understand that this new denture, even though it functions the same, is a big upgrade in technology from their existing denture.
This allows you as the clinician to be seen as more savvy than other clinicians they’ve dealt with.
First Clinical Visit
")
In this visit, you will capture the key diagnostic impressions needed to complete the case
Talk with the patient about what they want to see specifically in their new denture. Please record any relevant information to the Patient’s Rx.
- Shade of Teeth for New Denture
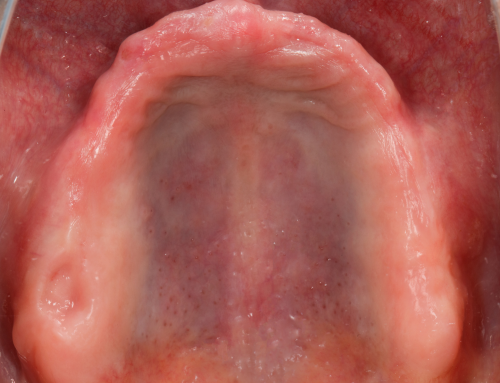
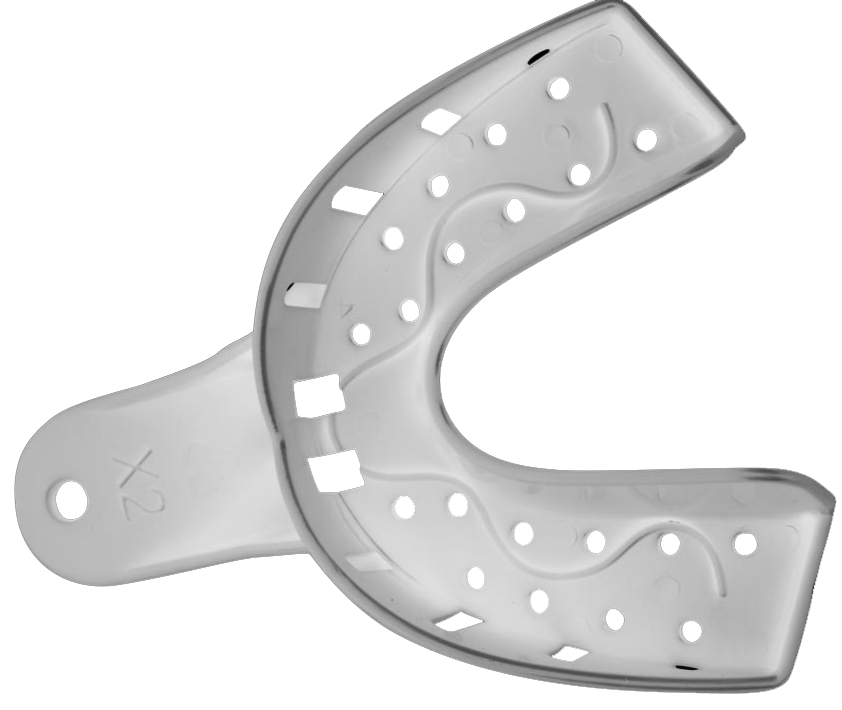
- Impression of Edentulous Arch(es)
- Capture Opposing Arch

First Laboratory Procedure
Once received in to the laboratory and correctly recorded, we will fabricate a occlusal rim for the patient to assist you chairside in recording the patient’s vertical.
")
Second Clinical Visit (Wax Rim)

Try-In of Wax Record
As with any wax rim, you will be evaluating:
- midline
- horizontal plane
- smile line
- shade
- shape of teeth
- long axis of anterior teeth
- Modify wax rim to appropriate vertical
- Record bite
Second Laboratory Procedure
Once returned to the lab RDL’s Design Team will take your measurements and suggestions (if there are any) and design your patient’s new Digital Denture.
RDL will fabricate the Try-In of your choice to send to the next chairside visit.

Third Clinical Visit (Diagnostic Try-In)

Diagnostic Try-In Denture
- Available in Multiple Options to meet clinical needs
- Check traditional markers:
- Fit
- Function
- Form
- Evaluate shape and esthetics
These digitally produced try-ins tend to fit and perform better than any previous denture. We’ve even had patients leave with the try-in until the final denture is seated. Fit is excellent.
Final Laboratory Procedure
Once returned to the lab RDL’s Design Team will take your measurements and suggestions (if there are any) and design your patient’s new Digital Denture.
RDL will fabricate the Final Denture of your choice.
")
Final Clinical Visit

Delivery
The patient’s new, digitally designed and fabricated denture should be ready for delivery with minimal adjustments after extractions. The new digital record can be used as a reference for the patient’s final denture down the road, and will provide the lab with more diagnostic information than if we had followed traditional impression procedures.